
Capturing the Night Sky
A Simple Guide to Long-Exposure Photography
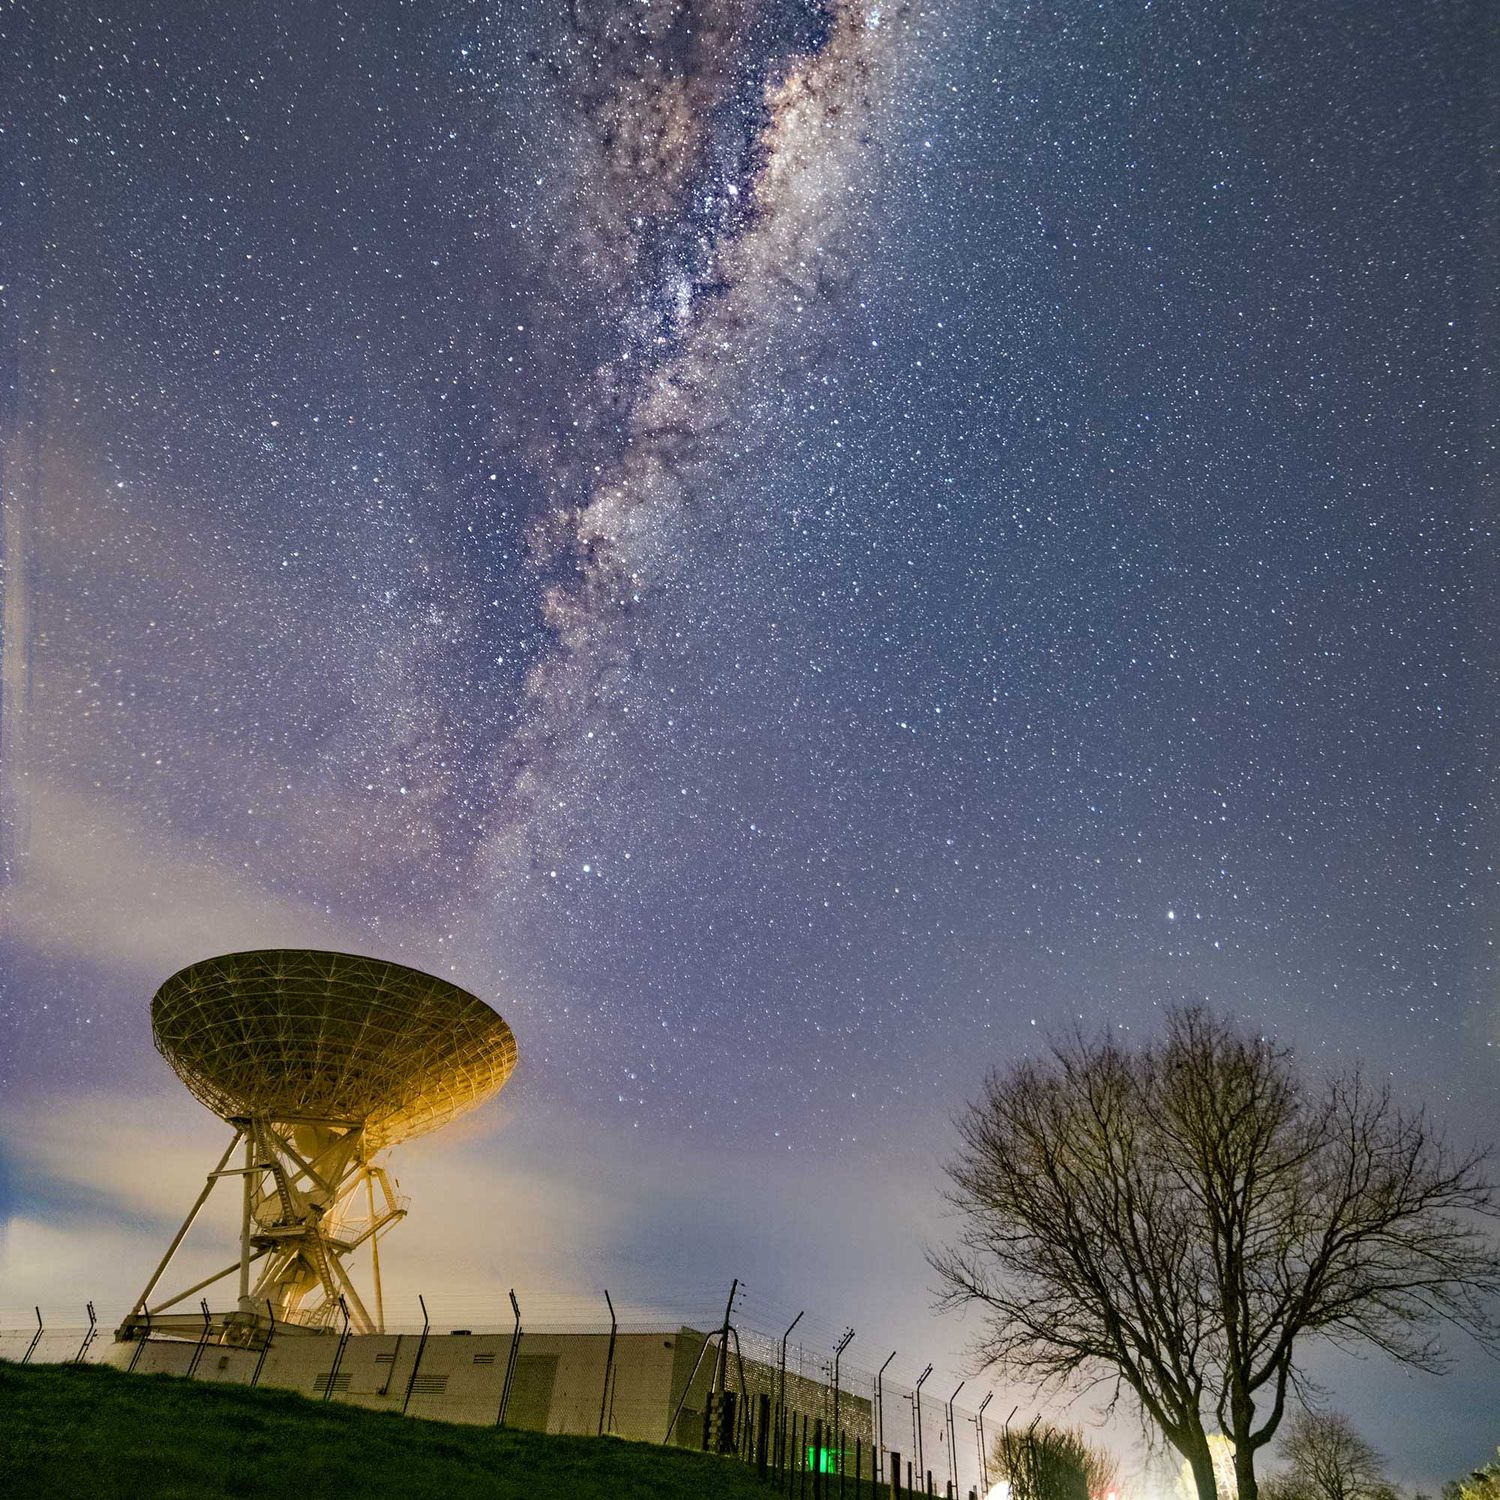
Photographing the Milky Way is one of the most magical experiences for any photographer, especially if you're new to astrophotography. With just a bit of gear and some patience, you can capture stunning images of the night sky. Here’s a step-by-step guide on how to use long-exposure techniques to photograph the Milky Way.
What You'll Need
- A DSLR or Mirrorless Camera: You need a camera with manual mode so you can control the settings.
- Wide-Angle Lens: A lens between 14mm and 24mm is perfect for capturing large sections of the sky. The wider the aperture (f/2.8 or lower), the better, as it allows more light in.
- Tripod: Since you'll be using long exposure, a sturdy tripod is crucial to avoid any shaking.
- Remote Shutter/Intervalometer: This helps you take the photo without touching the camera, reducing the risk of blurring.
- Headlamp with Red Light: For seeing in the dark without losing your night vision.
- Extra Batteries: Long exposures eat up battery life quickly.
- A Clear Night Sky: Look for a dark spot, away from city lights, and ideally plan your shoot during a new moon or when the moon isn’t bright.


Step-by-Step Guide to Capture the Milky Way
1. Find the Perfect Spot
Location is key! The farther you are from light pollution, the better your Milky Way photos will be. Apps like Dark Sky Finder or Light Pollution Map can help you find the darkest skies around. You’ll also want to check the moon phase and weather forecast—clear, moonless nights are your best bet for capturing the Milky Way.
2. Set Up Your Gear
Get to your location early to set up while you can still see. Mount your camera on the tripod, attach your wide-angle lens, and get your remote shutter ready. Use apps like SkySafari or Star Walk to find the exact location of the Milky Way in the sky.
3. Dial in Your Camera Settings
Set your camera to manual mode (M) so you can control every setting. Here’s a good starting point:
Aperture: Set the aperture wide open (f/2.8 or lower). This allows as much light as possible to hit your sensor.
ISO: Start with ISO 1600 to 3200. Higher ISO means brighter stars, but too much can add noise to the image.
Shutter Speed: Use the "500 Rule" to avoid star trails. Divide 500 by the focal length of your lens to get the maximum exposure time. For example, with a 20mm lens, 500 ÷ 20 = 25 seconds.
Focus: Switch to manual focus and aim for a bright star. Use your camera's live view and zoom in to fine-tune your focus.
4. Take a Test Shot
After setting everything up, take a test shot. Check the image for sharpness, exposure, and composition. If the stars look blurry, shorten the exposure time. If the image is too dark, try increasing the ISO or the shutter speed.
5. Make Adjustments
After reviewing your test shot, adjust your settings as needed. It might take a few tries to get everything just right, so be patient. Try experimenting with different compositions, including some interesting landscape features like trees or mountains in the foreground to add depth to the shot.
6. Post-Processing
Once you’ve captured your images, you’ll likely need to edit them to bring out the Milky Way’s details. Use software like Lightroom or Photoshop to tweak the exposure, contrast, and sharpness. A little noise reduction and boosting the colors will help the Milky Way pop, but don’t overdo it—natural is best.
Final Thoughts:
- Take Your Time: Astrophotography requires patience. You won’t always get the perfect shot on the first try.
- Stay Comfortable: Dress warmly if you're in a cold environment, and bring some snacks and a thermos of something warm.
- Experiment: Don’t be afraid to try different settings and compositions. You’ll get better with practice, and soon you'll be capturing breathtaking nightscapes!
- With the right settings, some practice, and a bit of post-processing, you’ll be amazed at the results you can achieve. Go out and enjoy the peaceful beauty of the night sky—you’ve got this!
